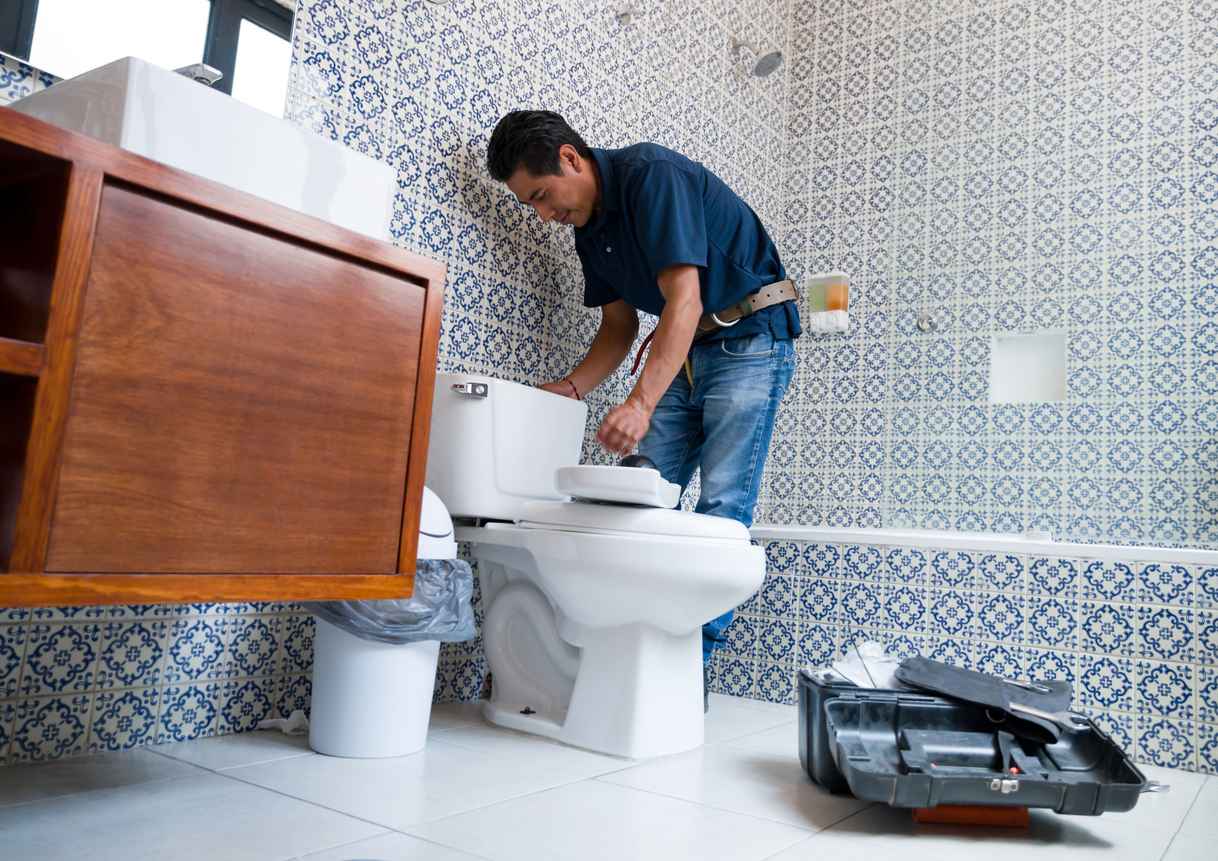
A running toilet is a common household annoyance that can waste gallons of water and drive up your utility bills. Beyond the irritating sound, a toilet that keeps running often signals an underlying issue that needs attention. Understanding the causes and solutions for a running toilet can save you money, conserve water, and prevent further plumbing problems.
Common Causes of a Running Toilet
A toilet that keeps running is typically the result of one or more components inside the tank malfunctioning. Here are the most common culprits:
Faulty Flapper
The flapper is a rubber or plastic component that seals the opening between the tank and the bowl. If the flapper is damaged, warped, or misaligned, it won’t create a proper seal, allowing water to continuously flow into the bowl.
Worn Out Fill Valve
The fill valve controls the water level in the tank. If it’s damaged or not adjusted correctly, the tank may overfill, causing water to spill into the overflow tube and keep the toilet running.
Float Issues
The float is a mechanism that rises and falls with the water level in the tank. If the float is set too high or is damaged, it may fail to shut off the fill valve, leading to a constantly running toilet.
Loose or Broken
The chain connects the flush handle to the flapper. If the chain is too short, too long, or tangled, it can prevent the flapper from closing properly.
Sediment Buildup
Mineral deposits and sediment can accumulate in the tank over time, affecting the performance of the fill valve, flapper, and other components.
How to Fix a Running Toilet
Fortunately, many causes of a running toilet can be fixed with basic tools and a little effort. Here’s a step-by-step guide to addressing the issue:
Step 1: Inspect the Flapper
Lift the tank lid and check the flapper for signs of wear or damage. If the flapper is warped or cracked, replace it with a new one. Ensure it aligns properly with the flush valve to create a secure seal.
Step 2: Adjust the Fill Valve
If the fill valve isn’t shutting off properly, adjust the float. Most floats can be adjusted by turning a screw or sliding a clip. Set the float so that the water level is about an inch below the top of the overflow tube.
Step 3: Check the Chain
Ensure the chain connecting the flush handle to the flapper isn’t too tight or too loose. Adjust the length if needed, or replace the chain if it’s damaged.
Step 4: Clean the Tank
Remove sediment buildup by cleaning the tank components. Turn off the water supply, flush the toilet to empty the tank, and use a brush or cloth to clean the inside of the tank and its mechanisms.
Step 5: Replace Faulty Parts
If adjusting or cleaning doesn’t resolve the issue, it may be time to replace the fill valve, flapper, or other components. Look for parts that are compatible with your specific toilet model.
Preventing a Running Toilet
Taking proactive steps can help prevent your toilet from running in the future:
- Regular Maintenance: Periodically inspect and clean the tank components to ensure they’re in good condition.
- Avoid Harsh Chemicals: Using harsh cleaners in the tank can degrade rubber and plastic parts over time.
- Address Issues Promptly: Don’t ignore minor issues like a weak flush or intermittent running water, as they can escalate into bigger problems.
Keep Your Toilet Functioning with JMK Plumbing & Heating
If you’re dealing with a persistent running toilet or need expert help, contact JMK Plumbing & Heating. Our skilled team is here to provide reliable toilet repair services to restore your plumbing system to top condition. Schedule your service today and stop the running water for good!

